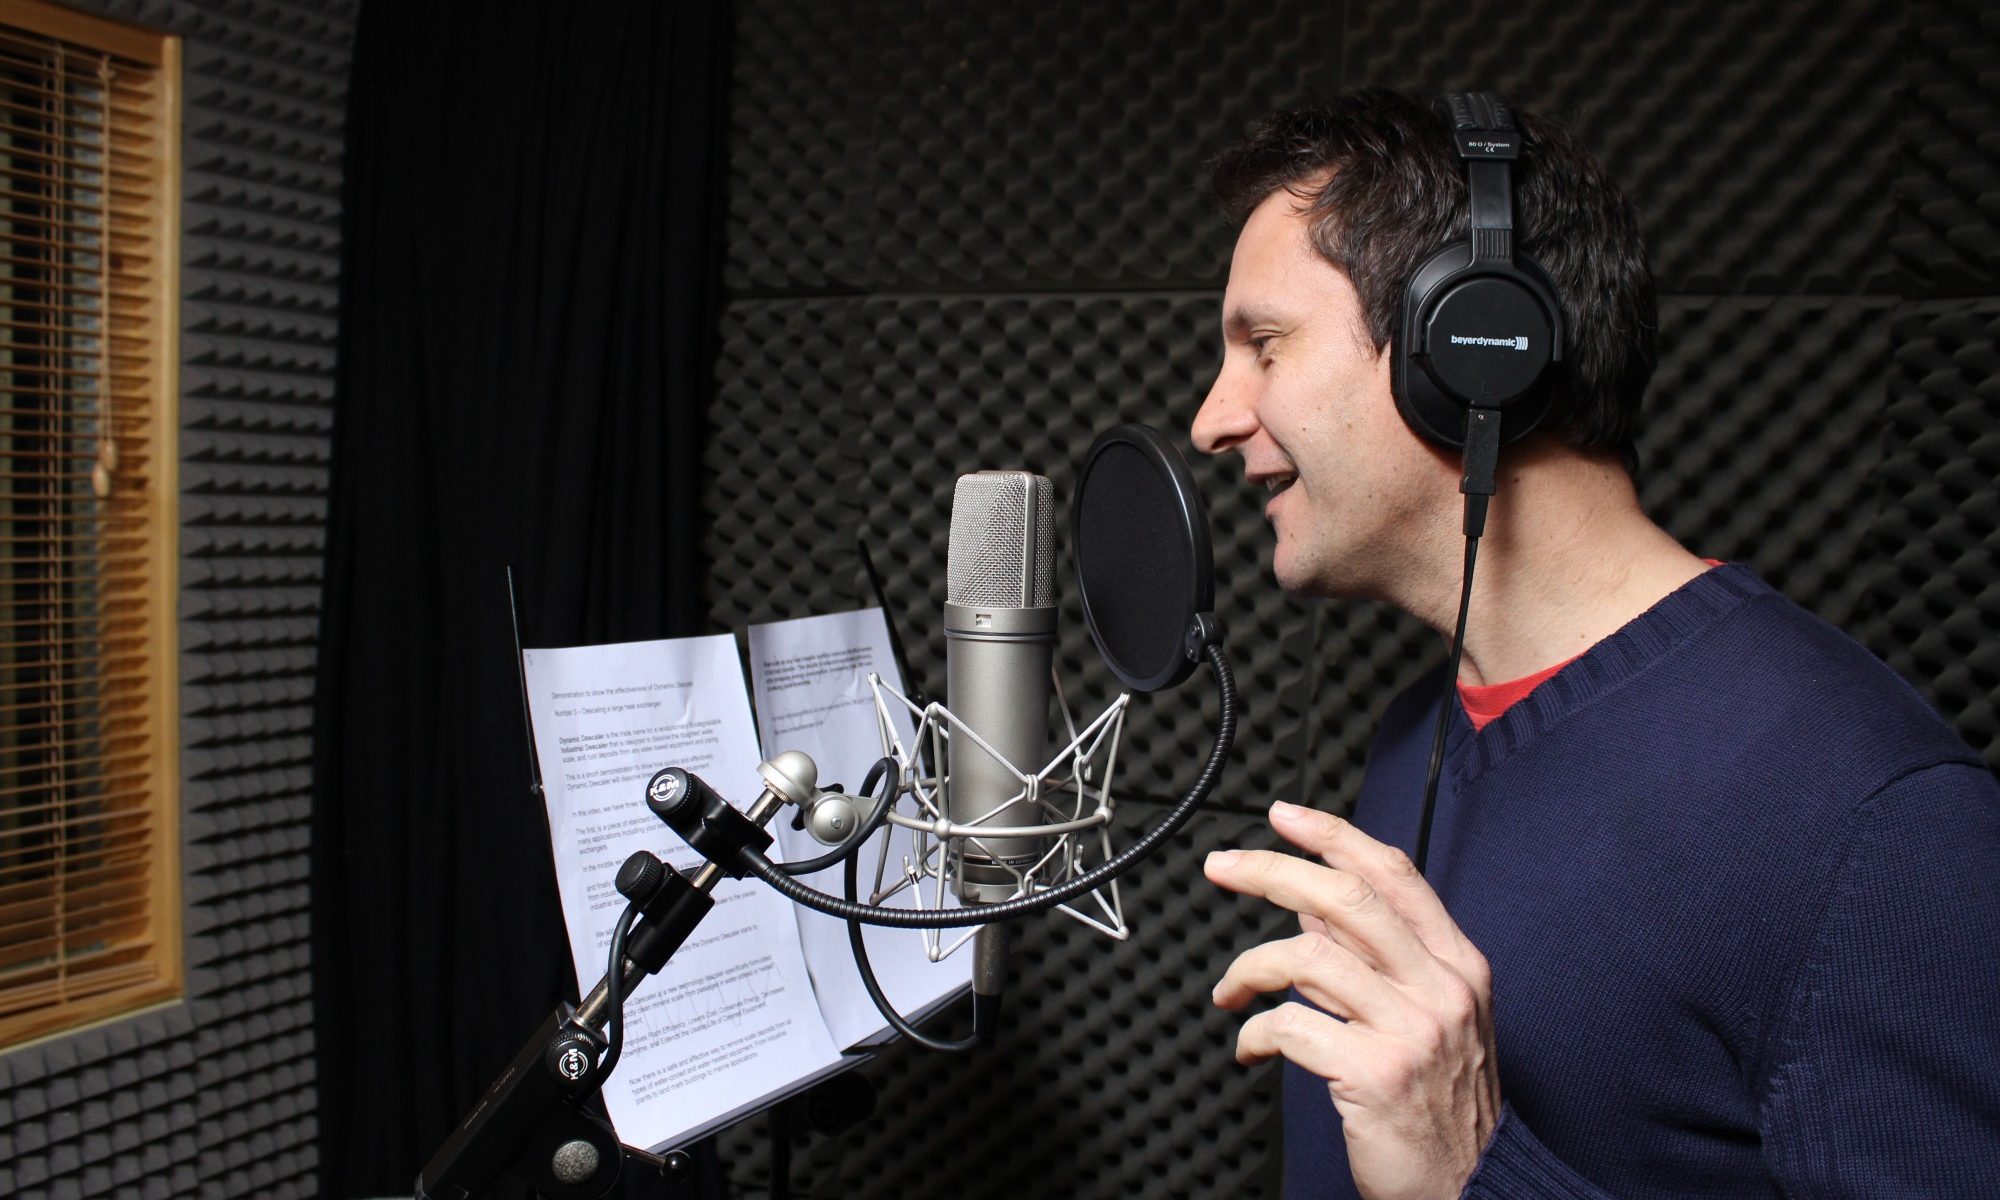
Building a professional-quality voice recording studio at home doesn’t have to break the bank. With smart planning and strategic investments, you can create a space that delivers crisp, clear audio for podcasts, voiceovers, or music recordings. Whether you’re a budding podcaster, voice actor, or musician, these practical tips will help you set up an effective home studio without overspending.
Choosing the Right Space
The foundation of a good home voice studio is selecting the right room. Look for a quiet, small to medium-sized space with minimal echo and outside noise. Closets filled with clothes can work surprisingly well because fabrics naturally absorb sound. If using a bedroom or office, avoid rooms with hard surfaces like tile or hardwood floors, as they create unwanted reverberation. The key is finding a space where you can control acoustics without expensive renovations.
Soundproofing on a Budget
Professional soundproofing can be costly, but there are affordable ways to improve your recording environment. Heavy blankets, curtains, or moving pads hung on walls can dampen echoes. Foam mattress toppers cut into panels work well for absorbing mid-range frequencies. For a portable solution, build a “reflection filter” by attaching acoustic foam around a microphone stand. If possible, place rugs or carpets on hard floors to reduce sound reflections. These DIY methods significantly improve audio quality without requiring professional installation.
Essential Equipment Without the High Price Tag
You don’t need the most expensive gear to record professional-sounding audio. Start with a reliable USB microphone like the Audio-Technica ATR2100x or Samson Q2U, which offer excellent quality for under $100. A basic pop filter (or a homemade one using pantyhose and a embroidery hoop) reduces plosive sounds. Sturdy headphones that fully cover your ears help monitor recordings accurately. For voice work, this core setup often outperforms more expensive equipment in untreated spaces.
Optimizing Your Recording Setup
Proper microphone technique makes a bigger difference than expensive gear. Position the mic about 6-8 inches from your mouth, slightly off-center to avoid breath noises. Use a shock mount or improvised suspension (like elastic bands) to minimize desk vibrations. Record in the center of the room if possible, away from walls that cause reflections. A simple laptop stand or stack of books can create an ergonomic recording position. These small adjustments cost nothing but dramatically improve recording quality.
Free and Affordable Software Solutions
Professional-grade recording software is available without expensive subscriptions. Audacity (free) offers robust editing capabilities for beginners. Reaper ($60 for personal use) provides near-professional features at a fraction of industry software costs. For podcasters, Anchor.free offers free hosting with basic editing tools. Learn keyboard shortcuts to work efficiently, and use noise reduction tools sparingly to maintain natural voice quality. Many free plugins can enhance your recordings without requiring advanced technical knowledge.
Creating an Effective Workflow
Develop consistent recording habits to maximize your studio time. Keep a script stand or tablet holder to maintain proper mic distance while reading. Mark optimal microphone positions with tape for repeatable setups. Schedule recordings during quiet hours if you’re in a noisy environment. Simple organization—like labeling cables and creating preset effects chains—saves time during production. These habits cost nothing but contribute significantly to professional results.
Maintaining and Upgrading Over Time
Start simple and upgrade strategically as your needs grow. First invest in better microphones or preamps before cosmetic studio upgrades. Monitor your recordings critically to identify what actually needs improvement. Many professional voice artists began with setups far simpler than what’s possible today on a modest budget. Regular maintenance like cleaning microphone grilles and updating software ensures your equipment performs its best.
Professional Results on a Modest Budget
A successful home voice studio depends more on technique and environment than expensive gear. By focusing on acoustic treatment, proper microphone use, and efficient workflows, you can achieve broadcast-quality recordings without professional studio costs. Remember that some of today’s most successful voice artists began in closet studios—proof that talent and smart setup choices outweigh fancy equipment. With these budget-friendly approaches, you’re ready to start recording professional audio from the comfort of your home.
Browse these resources for similar content :
https://familyhousepai.com/
https://familleeducation.org/
https://gotomariko.com/
https://jetaport.com/
https://theloverspoint.com/
https://godblogcon.com/
https://leadershipeditors.com/
https://wahcbd.com/
https://exclusivenewstoday.com/
https://premiobrasilambiental.com/
https://youarebeingwatched.us/
https://kidsearnmoney.co/
https://newportbluesfestival.co.uk/
https://maitreyarelictour.com/
https://sandranews.com/
https://cryptexplorer.com/
https://offiice-officecom.com/
https://revisedtruth.com/
https://balarindangnews.com/
https://creativehomestaging.net/
https://pokercewek.org/
https://israup.net/
https://mx-df.net/
https://inewsiran.com/
https://madeinitalytravel.com/
https://i-mpressmta.com/
https://amarillaautomotores.com/
https://newstotop.com/


